Greetings, egg-spectant poultry parents! The journey from egg to chick is truly a miraculous and egg-citing process. If you've decided to take the plunge and hatch your own chicks, you've come to the right place! In this comprehensive guide, we'll explore the ins and outs of incubating and hatching chicken eggs, from selecting the perfect eggs to caring for your newly hatched chicks. So, let's crack on and embark on this egg-ceptional adventure!
Part 1: Selecting and Preparing Your Eggs for Incubation
Choose Fresh, Fertile Eggs
To increase your chances of hatching success, begin with fresh, fertile eggs from healthy, well-fed hens and roosters. Eggs should be no more than 7-10 days old and have been stored at a temperature of 55-60°F (12-15°C) with a humidity level of 75% before incubation.
Egg Quality Matters
Inspect each egg carefully before placing it in the incubator. Choose eggs with smooth, clean shells free of cracks or deformities. Avoid excessively large or small eggs, as they may have a lower hatch rate.
Clean Your Eggs (If Necessary)
If your eggs have dirt or debris on the shell, gently clean them using a dry, soft cloth or a slightly damp sponge. Avoid using soap or chemicals, as these can damage the protective bloom on the eggshell and decrease hatchability.
Part 2: The Incubation Process
Choosing the Right Incubator
Select an incubator that best suits your needs and budget. Key features to consider include accurate temperature and humidity control, automatic egg turning, and good air circulation. Be sure to read the manufacturer's instructions and test your incubator for at least 24 hours before adding eggs.
Temperature and Humidity Control
Maintaining a consistent temperature and humidity level is crucial for a successful hatch. Set your incubator's temperature to 99.5°F (37.5°C) for a forced-air incubator or 101-102°F (38-39°C) for a still-air incubator. Aim for a humidity level of 45-50% during the first 18 days of incubation and 60-65% for the last three days.
Turning Your Eggs
Turning the eggs regularly helps prevent the embryo from sticking to the shell and promotes proper development. Turn your eggs at least three times daily, either manually or by using an automatic egg turner. Be sure to stop turning the eggs three days before the expected hatch date to allow the chicks to position themselves for hatching.
Candling Your Eggs
Candling is the process of shining a bright light through the eggshell to monitor the embryo's development. Begin candling your eggs around day 7-10 of incubation and repeat every few days. This will allow you to identify and remove any non-viable eggs and track the progress of the developing embryos.
Part 3: The Hatching Process
Lockdown Period
The final three days of incubation, known as the "lockdown" period, are crucial for a successful hatch. During this time, stop turning the eggs, increase the humidity to 60-65%, and avoid opening the incubator unless absolutely necessary.
Signs of Hatching
You may begin to hear peeping sounds and notice the eggs wiggling as the chicks prepare to hatch. The first sign of hatching is called "pipping," which occurs when the chick begins to break through the shell using its egg tooth . This initial crack, or pip, is the chick's first step toward hatching. Be patient, as it can take 12-24 hours or even longer for a chick to fully hatch after pipping.
Assisting the Hatch (If Necessary)
While it's generally best to let nature take its course, there may be instances where a chick requires assistance to hatch. If a chick has been struggling for over 24 hours and appears to be weakening, you may need to intervene. Carefully remove small pieces of the shell, ensuring not to damage the underlying membrane, which can cause the chick to bleed. It's important to proceed with caution and only assist as a last resort.
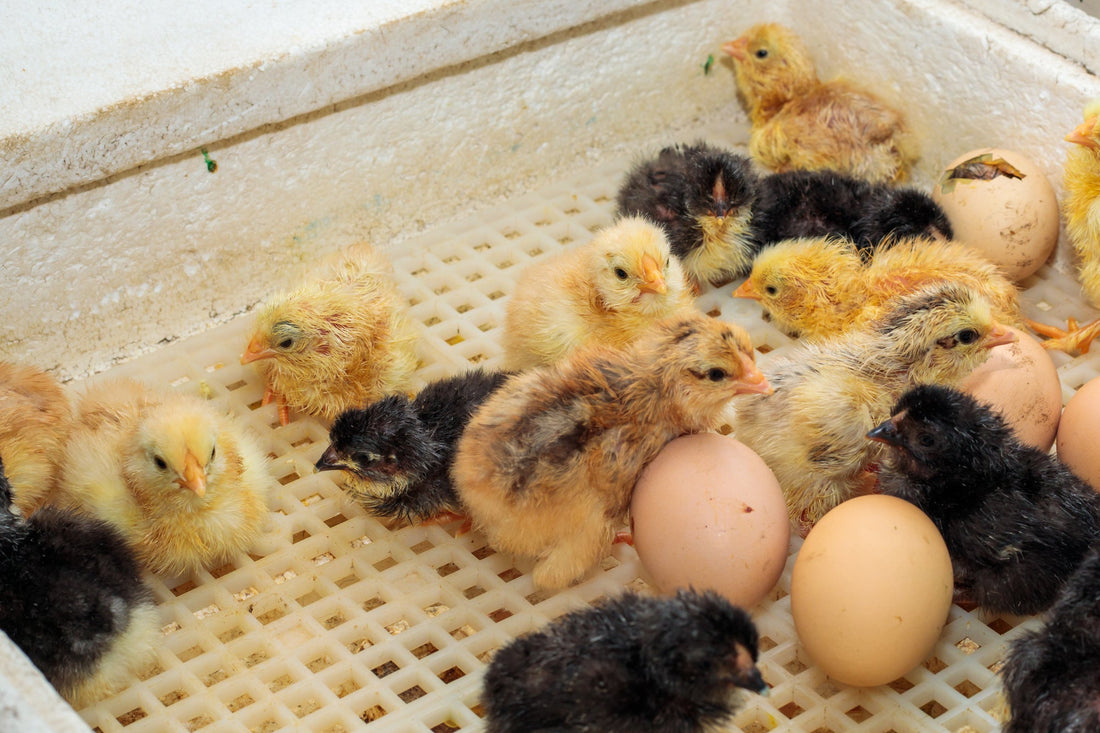
After the Hatch
Once your chicks have fully hatched and dried, transfer them to a prepared brooder with a heat source, clean bedding, fresh water, and chick starter feed. Monitor the chicks closely during their first few days, ensuring they are warm, dry, and eating properly.
Part 4: Troubleshooting and Tips for Hatching Success
Low Hatch Rate
If you experience a low hatch rate, consider evaluating your incubation conditions, egg selection, and the health and nutrition of your breeding stock. Make adjustments as necessary to improve your chances of success in future hatches.
Incubator Malfunctions
In the event of an incubator malfunction, such as a power outage or temperature fluctuation, act quickly to remedy the issue and minimize the impact on your developing embryos. Monitor the eggs closely for signs of development and be prepared for a potentially lower hatch rate.
Record-Keeping
Keeping detailed records of each hatch can help you identify trends, troubleshoot issues, and improve your hatching success over time. Note the incubator settings, egg selection, hatch rate, and any issues that arise during the process.
Hatching your own chicks is a rewarding and egg-citing journey that allows you to witness the miracle of life firsthand. By carefully selecting and preparing your eggs, maintaining optimal incubation conditions, and providing the necessary care and attention during the hatching process, you can successfully hatch and raise a healthy, thriving flock. So, let's get crackin' and embrace the wonder of hatching our very own backyard brood!